Rice Krispie Treats

Section: Indulgent Desserts for Sweet Endings

These brown butter Rice Krispie treats take the childhood classic to new heights with just a few simple tweaks. By browning the butter first, you add a rich, nutty depth that balances perfectly with the sweet marshmallows. Extra marshmallows stirred in at the end create delicious gooey pockets throughout each bar. A touch of vanilla and a pinch of salt elevate the flavor even further, turning this into a dessert that both kids and adults can’t resist. Perfect for parties, picnics, or just a cozy evening snack, these bars are easy to make and nearly impossible to stop eating.

A woman wearing glasses smiles for the camera.
Published By Ioana
Updated on Sat, 16 Aug 2025 11:49:55 GMT
A stack of Rice Krispie treats. Bookmark
A stack of Rice Krispie treats. | ioanacooks.com

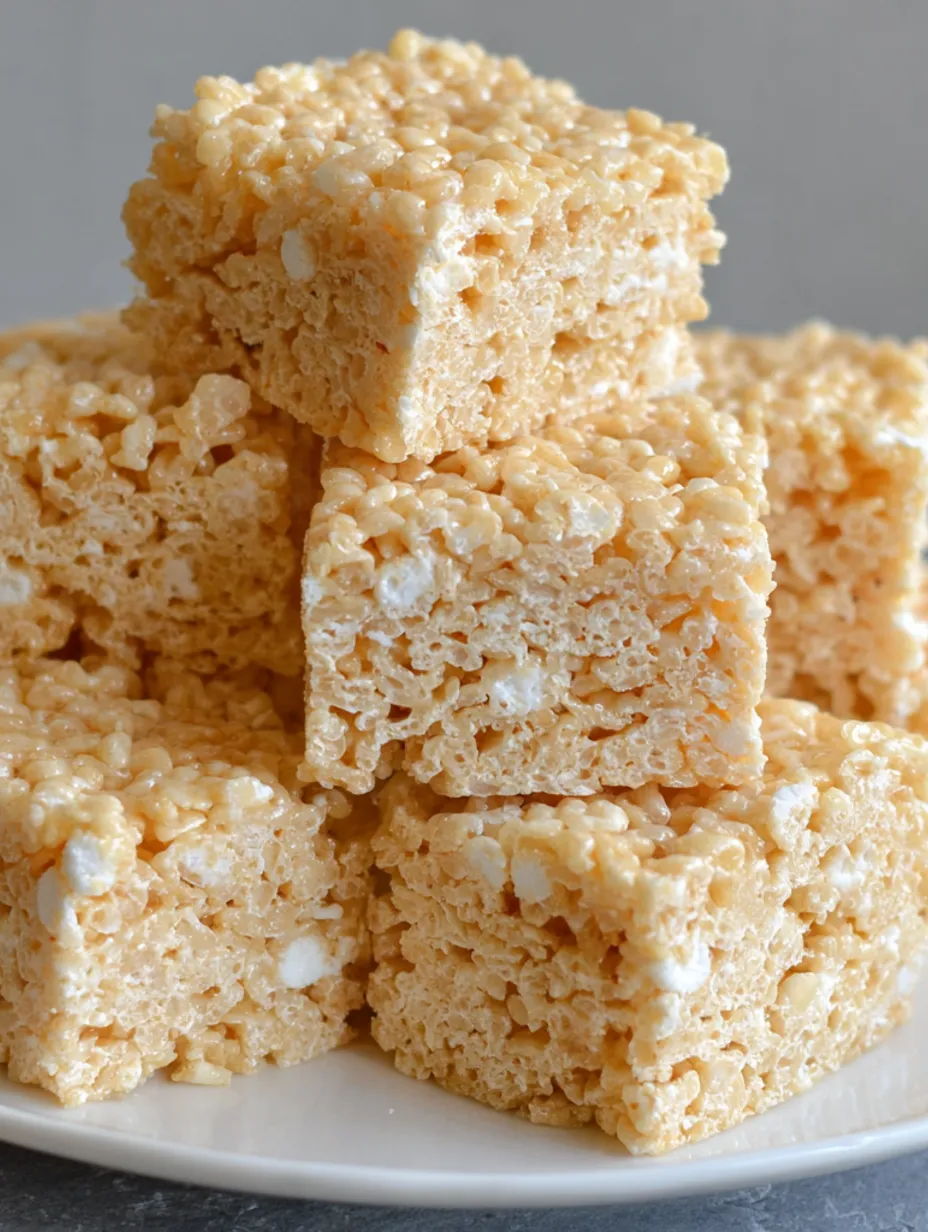
This Rice Krispie Treat recipe takes the classic childhood favorite and elevates it with a few simple tweaks for maximum gooeyness and flavor. By browning the butter, adding extra marshmallows, and balancing everything with vanilla and a touch of salt, the familiar squares become richer and more indulgent while still keeping their nostalgic charm.

I first made these for a neighborhood get together and they disappeared before the brownies. Now whenever I make them my family insists I double the batch.

Ingredients

  • Unsalted butter: provides rich flavor and binding power Browning it enhances nutty caramel notes
  • Mini marshmallows: create the gooey texture Use fresh fluffy ones for the best melt
  • Vanilla extract: adds warmth and depth Choose pure vanilla for best results
  • Salt: balances sweetness and sharpens flavor A fine sea salt works beautifully
  • Rice Krispies or crispy rice cereal: give the signature crunch Always check freshness for best snap

Step by Step Instructions

Melt and Brown the Butter:
Place the butter in a large pot over medium heat Let it melt completely then continue cooking until it foams and turns golden with a nutty aroma Watch carefully to avoid burning
Add the Marshmallows and Flavorings:
Stir in all but two cups of the marshmallows along with vanilla and salt Cook gently until the marshmallows are fully melted into a smooth mixture
Mix in the Cereal:
Remove the pot from heat and add the Rice Krispies Stir thoroughly until every piece is coated with the marshmallow mixture
Create Gooey Pockets:
Add the reserved marshmallows and fold them in gently until just softened You want visible melty pockets not fully dissolved marshmallows
Press and Set:
Transfer the mixture to a foil lined greased baking dish Press evenly using butter wrappers or damp fingers Let cool for at least one hour before cutting into squares
A stack of Rice Krispie treats. Bookmark
A stack of Rice Krispie treats. | ioanacooks.com

My favorite part is the browned butter It reminds me of baking with my grandmother who always said butter should smell like toasted nuts before you know it is ready. That little detail makes these taste extra special.

Storage Tips

Keep the cut squares in an airtight container at room temperature for up to five days For longer storage layer them with wax paper in a freezer safe box and freeze for up to six weeks Thaw at room temperature before serving

Ingredient Substitutions

If you prefer a dairy free option coconut oil works in place of butter though the flavor will be different For extra flavor swap half the vanilla with almond extract You can also mix in chocolate chips once the cereal is added but let the mixture cool a bit first so they do not melt completely

Serving Suggestions

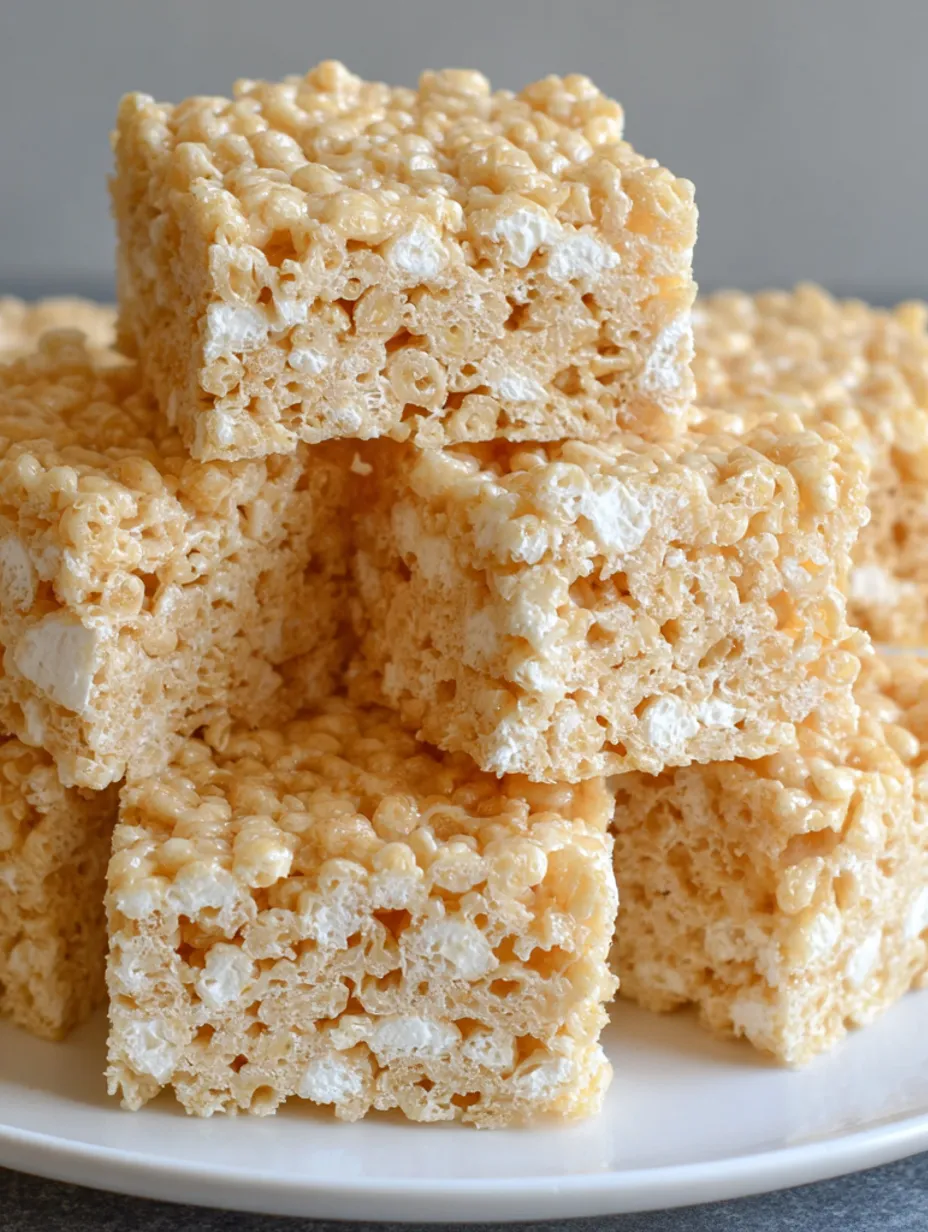
Cut them into bite sized cubes for party platters or drizzle with melted chocolate for a fancier touch They also make great ice cream sandwich layers if you press the mixture thinner and cut into rounds

A stack of Rice Krispie treats. Bookmark
A stack of Rice Krispie treats. | ioanacooks.com

Cultural Note

Rice Krispie treats first appeared on cereal boxes in the 1930s and quickly became a symbol of American home baking Over the years they have been adapted with countless variations but the simple combination of butter marshmallows and cereal remains timeless

Frequently Asked Questions About Recipes

→ How do I keep Rice Krispie bars soft?

Make sure not to overpack the mixture when pressing it into the pan. Press gently so the bars stay light and chewy rather than dense.

→ Can I make these ahead of time?

Yes, these bars keep well for up to 5 days in an airtight container at room temperature. You can also freeze them for longer storage.

→ Why brown the butter first?

Browning the butter adds a nutty, caramel-like flavor that makes the bars more complex and delicious compared to the classic version.

→ Can I add mix-ins?

Absolutely. Chocolate chips, peanut butter, or a drizzle of caramel make great additions while keeping the gooey marshmallow texture intact.

→ How do I cut clean squares?

Allow the bars to cool fully, then use a serrated knife. Lightly buttering the knife helps prevent sticking.

Rice Krispie Treats

Crispy, chewy, and gooey marshmallow bars with nutty brown butter flavor.

Time Needed to Prep
15 minutes
Cooking Duration
20 minutes
Overall Time
35 minutes
Published By: Ioana

Category of Recipe: Desserts

Preparation Difficulty: Easy to Make

Type of Cuisine: American

Number of Portions: 22 How Many It Serves (20 to 24 squares)

Dietary Preferences: ~

Ingredients You'll Need

→ Base Components

Ingredient 01 12 tablespoons (1½ sticks) unsalted butter, plus extra for pan greasing
Ingredient 02 Two 10-oz bags mini marshmallows, divided (reserve 2 cups)
Ingredient 03 ¾ teaspoon vanilla extract
Ingredient 04 ½ teaspoon salt
Ingredient 05 8½ cups Rice Krispies or certified gluten-free crispy rice cereal

Steps to Follow

Step 01

Line a 9 x 13-inch pan with heavy duty aluminum foil and lightly grease with softened butter. Set aside 2 cups of the marshmallows for later use.

Step 02

In a large pot with light bottom, melt butter over medium heat, saving wrappers for later. Swirl pan occasionally until butter progresses from yellow to golden to toasty-brown with nutty aroma. Remove from heat when sediment forms (strain if too dark).

Step 03

Off heat, add remaining marshmallows, vanilla, and salt to browned butter. Return to medium heat and stir with wooden spoon until marshmallows are completely melted and smooth.

Step 04

Remove pan from heat and add Rice Krispies cereal. Using rubber spatula or wooden spoon, stir until evenly coated with marshmallow mixture.

Step 05

Stir in reserved marshmallows until softened and partially melted. Avoid overmixing to maintain pockets of gooey texture.

Step 06

Transfer mixture to prepared pan. Using saved butter wrappers or damp fingers, press gently into even layer. Cool at room temperature for at least one hour before cutting.

Step 07

Use foil overhang to lift treats onto cutting board. Cut into squares with serrated bread knife. Store in airtight container at room temperature up to 5 days.

Extra Tips

  1. Brown butter technique creates nutty, caramel-like depth of flavor compared to standard recipe
  2. Reserve some marshmallows to add at the end for extra gooey pockets throughout the treats
  3. Can be frozen for up to 6 weeks in airtight container with wax paper layers
  4. Kellogg's no longer makes gluten-free Rice Krispies; use certified gluten-free alternatives if needed

Tools You'll Need

  • Large pot or Dutch oven with light bottom
  • 9 x 13-inch baking pan
  • Heavy duty aluminum foil
  • Wooden spoon
  • Rubber spatula
  • Serrated bread knife
  • Fine mesh sieve (if needed for straining)

Allergen Information

Carefully check food labels for allergens and consult an expert if you're uncertain.
  • Contains dairy (butter)
  • May contain gluten depending on cereal brand used
  • Marshmallows typically contain gelatin (not vegetarian)

Nutritional Information (Per Serving)

Remember, these values are for guidance only and shouldn't replace advice from a professional.
  • Calories Per Serving: 162
  • Total Fat: 6 grams
  • Carbohydrate Amount: 27 grams
  • Protein Amount: 1 grams