
 Bookmark
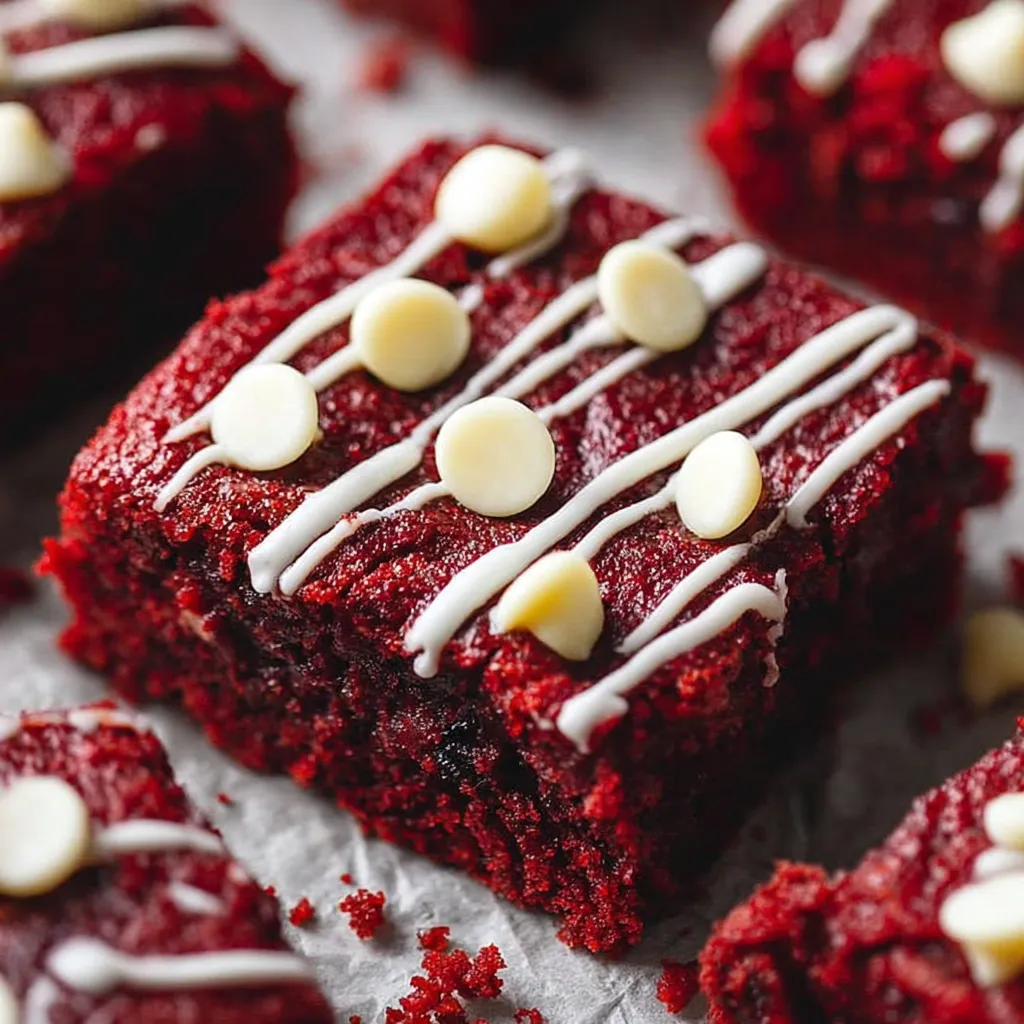
These fudgy red velvet brownies are my go to treat when I want a dessert that looks as good as it tastes. They bring that classic red velvet tang combined with a melt in your mouth chocolate richness. The vibrant color makes these brownies perfect for festive occasions or just for satisfying a serious sweet craving any time.
The first time I baked these brownies was on a snowy February night and since then my family asks for them every single holiday. They are the kind of dessert you remember and crave long after the pan is empty.
Ingredients
- Unsalted butter chopped: brings richness and a chewy fudgy bite. Pick a high quality unsalted butter for the best texture
- Semi sweet chocolate chopped: brings intense chocolate flavor and extra gooeyness. Go for a good quality bar for smooth melting
- Granulated sugar: provides the sweetness and helps create that signature crackly top. Use fine white sugar for best results
- Large eggs: create structure and keep the brownies chewy and moist. Always choose large fresh eggs
- Pure vanilla extract: enhances the chocolate taste and adds warmth. Pure vanilla tastes best and smells incredible
- White vinegar: gives the red velvet its classic slight tang which makes each bite pop. Choose a mild vinegar for balance
- Red gel food coloring: delivers that unmistakable red hue. Gel gives a deeper color without thinning out the batter
- Unsweetened cocoa powder: adds gentle chocolate flavor. Use natural unsweetened for an authentic red velvet taste
- All purpose flour: gives structure to each bar. Spoon and level your flour to avoid tough brownies
- Salt: just a pinch brings out the flavor of the chocolate and balances sweetness. Use fine sea salt for best control
Step by Step Instructions
- Prepare the Pan:
- Line or grease an eight by eight inch baking pan with parchment paper making sure to leave an overhang for easy lifting later. This step keeps your brownies from sticking and makes for clean slices. Preheat your oven to 350 degrees F while you prepare the batter.
- Melt Butter and Chocolate:
- In a microwave safe bowl melt the butter together with the chopped chocolate in thirty second intervals. Stir after each burst until smooth and glossy. Avoid overheating to keep the chocolate from seizing which would ruin the texture.
- Mix Wet Ingredients:
- Whisk the sugar into the warm chocolate butter mixture until fully blended. This gives the brownies their shiny top. Beat in the eggs one at a time mixing thoroughly after each so the batter becomes thick and velvety. Stir in vanilla extract white vinegar and red gel coloring until the color is uniform throughout.
- Combine Dry Ingredients:
- In a separate bowl sift together cocoa powder flour and salt. Sifting removes lumps and creates a lighter texture in the brownies. This extra step makes a real difference in the final result.
- Combine Wet and Dry:
- Add the dry ingredients to the wet mixture a little at a time. Fold together gently with a rubber spatula just until no flour streaks remain. Overmixing creates dense brownies so stop as soon as it looks uniform.
- Fill and Bake:
- Pour batter into your prepared pan smoothing the surface with a spatula. Scrape every bit from the bowl for gooey edge pieces. Bake for 25 to 30 minutes until a toothpick poked in the center comes out with just a few moist crumbs for ultimate fudginess.
- Cool and Cut:
- Let brownies cool completely in the pan to set their signature fudgy texture. Use the parchment to lift out the whole slab then cut into squares with a sharp knife cleaning the blade between slices for neat edges.
 Bookmark
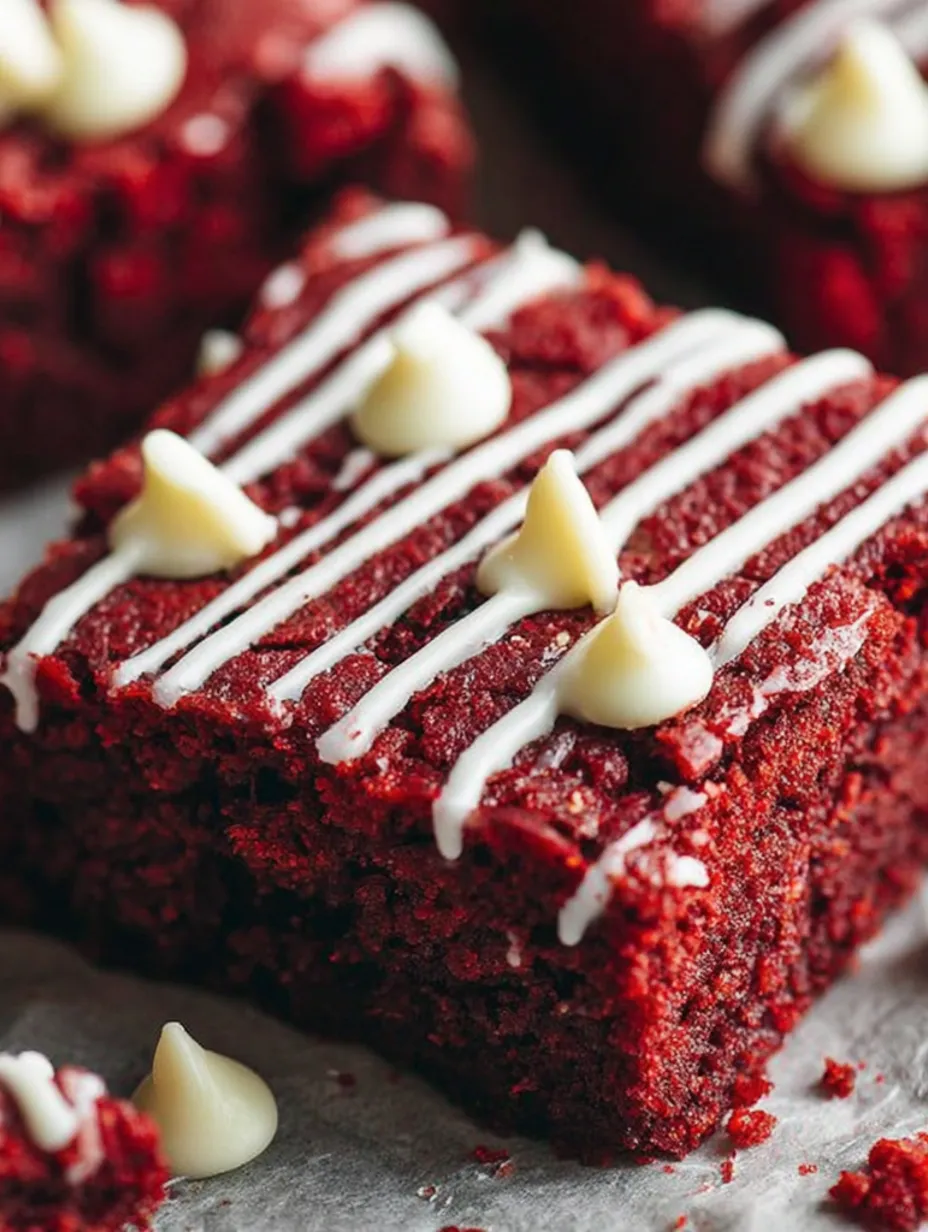
My favorite ingredient has to be the red gel food coloring nothing compares to the dramatic look it gives. These brownies always bring back memories of baking late at night surrounded by laughter and the scent of chocolate filling my kitchen.
Storing Your Brownies
Keep brownies in an airtight container on the counter for up to three days and they will stay moist and chewy. For longer storage place them in the fridge where they will last about one week. They also freeze well just wrap tightly and store for up to two months. The texture after thawing is still soft and delicious.
Ingredient Substitutions
You can swap the chopped chocolate for good quality chocolate chips in a pinch. If you want a deeper chocolate taste use Dutch process cocoa powder instead but know that the original red color may turn out a bit less bright. Substitute apple cider vinegar for white vinegar for a mild fruity undertone. For egg free brownies try a flaxseed egg mixture but the texture may be more dense.
Serving Suggestions
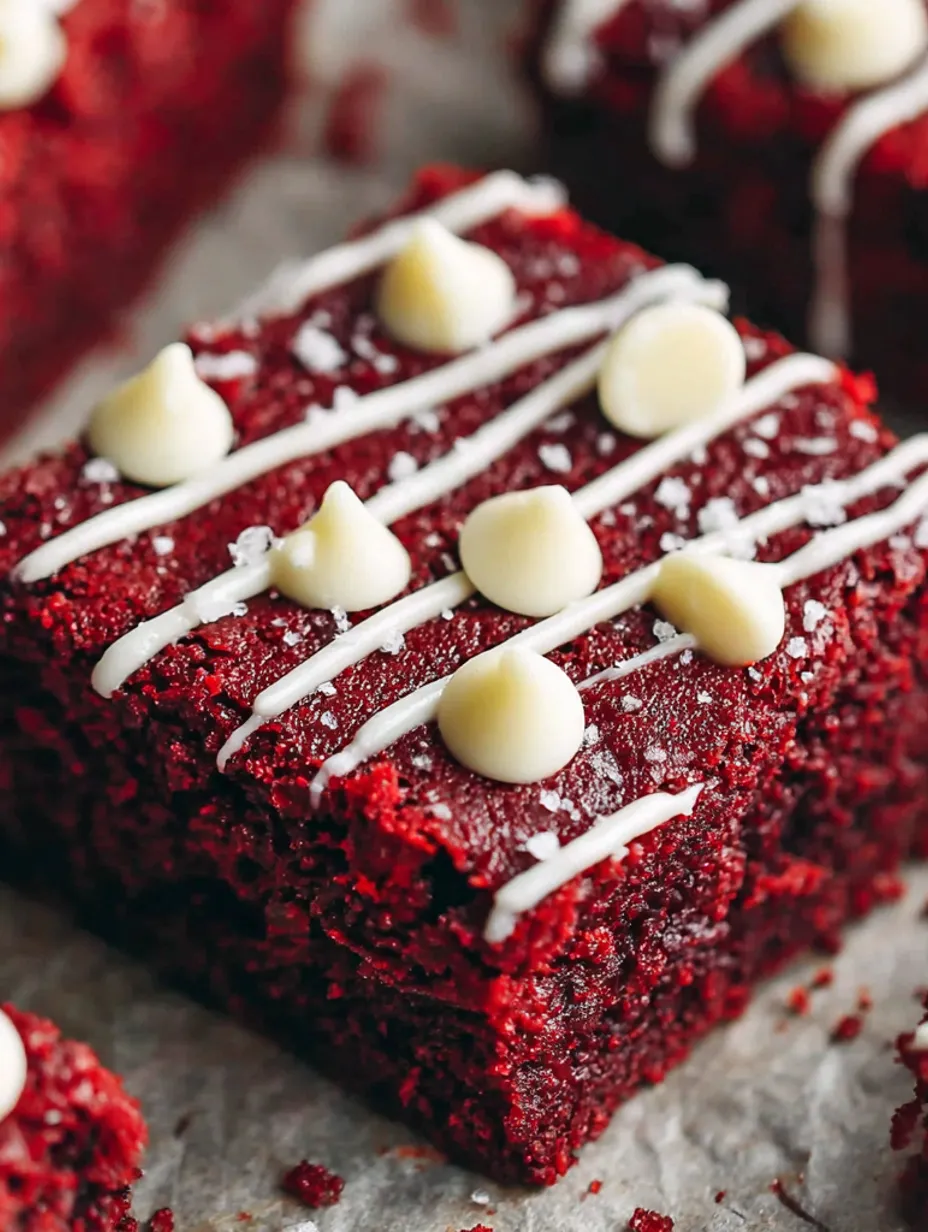
Top your brownies with a dusting of powdered sugar for an elegant look or spread a layer of cream cheese frosting for true red velvet luxury. A scoop of vanilla ice cream on a warm brownie square takes this dessert to a whole new level. For festive occasions sprinkle on colored sprinkles or heart shaped candies before serving.
 Bookmark
A Little Red Velvet History
Red velvet desserts first appeared in the nineteenth century when bakers added acidic ingredients to cocoa for a naturally fine texture and subtle reddish tint. The bright color we know today became popular after bakers started adding food coloring. This recipe captures the original tangy chocolate flavor but with the eye catching color that makes red velvet famous.
Frequently Asked Questions About Recipes
- → What makes these brownies fudgy?
The use of melted butter and chocolate, combined with careful mixing, creates a dense and moist crumb that keeps the brownies fudgy.
- → How do I achieve the red velvet flavor?
A small amount of vinegar adds tanginess that enhances the cocoa powder, giving that classic red velvet taste.
- → How can I get a vibrant red color?
Use gel food coloring instead of liquid to achieve a deep red hue without altering the batter’s consistency.
- → Can I add mix-ins to these brownies?
Yes, fold in white chocolate chips, nuts, or swirl in cream cheese or caramel for added flavor and texture.
- → How should I store leftover brownies?
Keep them in an airtight container at room temperature for up to 3 days, refrigerate for a week, or freeze for up to 2 months.
- → What’s the best way to cut clean slices?
Chill the brownies before slicing and wipe your knife clean between each cut for neat, sharp edges.