
 Bookmark
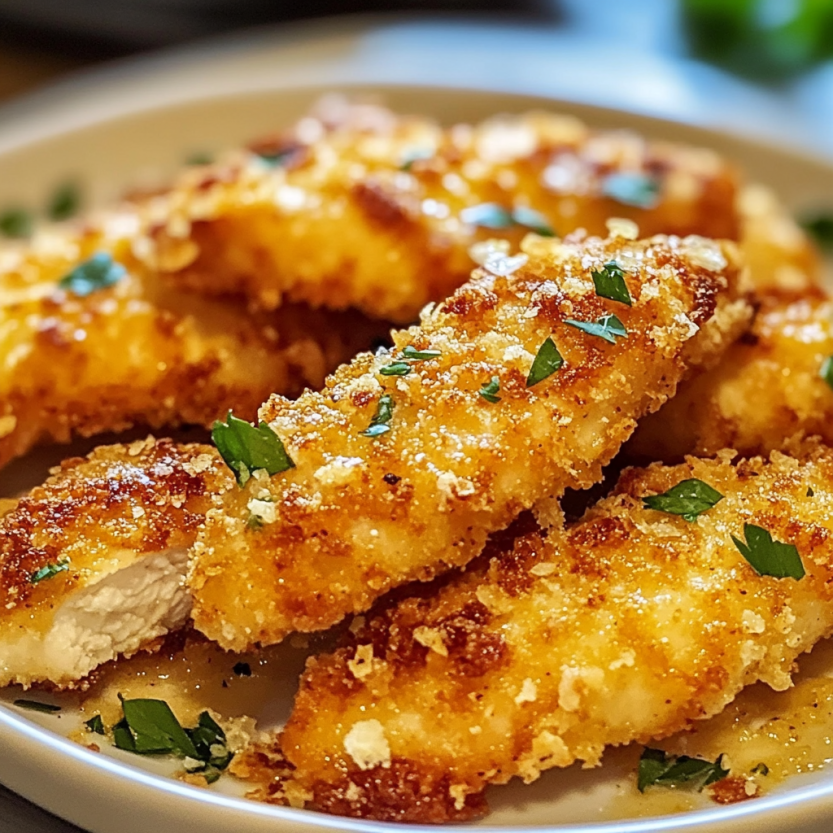
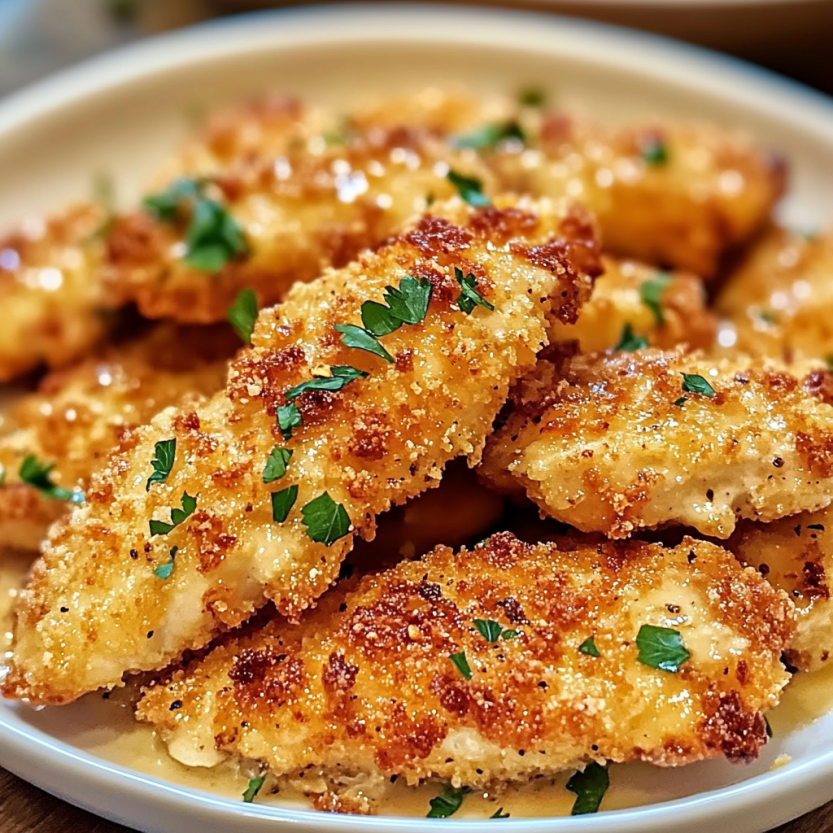
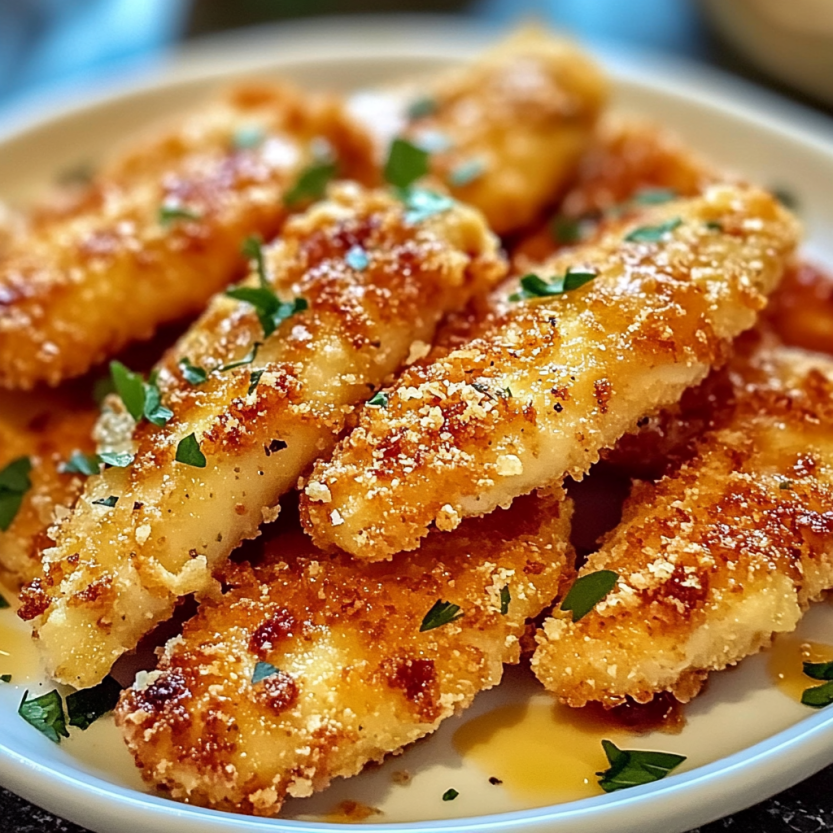
This crispy baked chicken tenders recipe transforms ordinary chicken into a golden, crunchy delight without the guilt of deep frying. I've perfected this family-friendly meal over countless weeknight dinners, finding that baking delivers that satisfying crunch while keeping the chicken tender and juicy inside.
When I first developed this recipe, my children were skeptical about baked versus fried tenders. Now they specifically request these crispy baked strips over fast food versions, which makes this health-conscious mom particularly happy.
Ingredients
- Chicken breasts or tenders: providing lean protein and easy to portion for different appetites
- Panko breadcrumbs: creating that essential crispy exterior that makes these tenders irresistible
- Parmesan cheese: offering subtle saltiness and helping the coating brown beautifully
- Garlic powder: adding savory depth without overwhelming the flavor profile
- Paprika: lending a gentle warmth and appetizing color to the finished tenders
- Eggs: working as the crucial binding agent that helps the coating adhere perfectly
- Olive oil spray: ensuring even browning and extra crispiness without excessive oil
Step-by-Step Instructions
- Prep the Chicken:
- For uniform cooking, cut chicken breasts into even strips about 1 inch wide. This ensures each piece cooks at the same rate and creates the perfect tender size for dipping. Pat them dry with paper towels to help the coating stick better.
- Create Breading Stations:
- Whisk the eggs until completely smooth in a shallow bowl. In a separate bowl, thoroughly mix all dry ingredients including breadcrumbs, cheese, and seasonings. Proper mixing ensures every bite has balanced flavor.
- Season and Bread:
- Season the raw chicken lightly with salt and pepper before dipping. Dip each strip into egg mixture, allowing excess to drip off completely. Press firmly into breadcrumb mixture, ensuring all sides get an even coating. The pressing motion helps the coating adhere during baking.
- Arrange for Baking:
- Place each breaded tender on a lined baking sheet with space between each piece. This critical spacing allows hot air to circulate around each tender, creating crispiness on all sides. Using a wire rack elevates this effect even further.
- Bake to Perfection:
- Bake in a fully preheated 400°F oven for exactly 20 minutes for standard sized tenders, flipping carefully at the 10 minute mark. Watch for golden brown color and check internal temperature reaches 165°F. Let rest for 3 minutes after baking to allow juices to redistribute.
 Bookmark
My absolute favorite part of this recipe is the versatile coating. I discovered through experimentation that adding Parmesan to the panko creates a nutty flavor profile that elevates these from basic to restaurant quality. My daughter now helps me prepare these every Sunday for her school lunches, creating a wonderful cooking tradition.
Make Ahead and Storage
These chicken tenders maintain their quality remarkably well when stored properly. After cooling completely, place them in an airtight container with parchment between layers to prevent sticking. They'll keep in the refrigerator for up to 3 days without losing their appeal.
For longer storage, freeze the fully cooked tenders on a baking sheet until solid, then transfer to freezer bags. They maintain quality for up to 2 months. Reheat from frozen in a 375°F oven for about 15 minutes until heated through and the coating recrisps beautifully.
Dipping Sauce Pairings
The perfect dipping sauce elevates these tenders to new heights. Classic honey mustard offers a sweet tanginess that complements the savory coating. For something different, try mixing Greek yogurt with fresh herbs and a squeeze of lemon for a lighter option that still delivers satisfying flavor.
My family favorite combines equal parts mayonnaise and barbecue sauce with a dash of hot sauce for a creamy, smoky dip with just enough kick. Set out a variety of options for a fun DIY dipping station that pleases everyone at the table.
Serving Suggestions
Transform these versatile tenders into numerous meal options. Slice them into strips for topping salads with a zesty vinaigrette. Wrap them in soft tortillas with lettuce and avocado for quick lunch wraps. They also make excellent protein for grain bowls alongside roasted vegetables and a drizzle of tahini sauce.
For a complete family dinner, serve alongside sweet potato fries and a simple coleslaw. The combination of textures and flavors creates a balanced meal that satisfies both comfort food cravings and nutritional needs.
 Bookmark
Frequently Asked Questions About Recipes
- → How do I ensure my baked chicken tenders come out extra crispy?
For extra crispy baked chicken tenders: 1) Use panko breadcrumbs instead of regular, 2) Spray lightly with olive oil before baking, 3) Bake on a wire rack to allow air circulation, 4) Consider double-coating the chicken (egg-breadcrumbs-egg-breadcrumbs), and 5) Make sure to flip halfway through baking for even browning.
- → Can I prepare these chicken tenders ahead of time?
Yes! You can bread the chicken tenders and store them in the refrigerator for up to 24 hours before baking. Place them in a single layer on a baking sheet, cover with plastic wrap, and refrigerate. You can also freeze the breaded uncooked tenders for up to 2 months. When ready to cook, bake from frozen, adding 5-7 minutes to the cooking time.
- → What are the best dipping sauces for these chicken tenders?
These crispy chicken tenders pair beautifully with honey mustard, BBQ sauce, ranch dressing, sriracha mayo, buffalo sauce, garlic aioli, sweet and sour sauce, or even a simple ketchup. For a healthier option, try Greek yogurt mixed with herbs and a touch of lemon juice.
- → How can I tell when the chicken tenders are fully cooked?
The most reliable way to check doneness is with a meat thermometer - chicken tenders should reach an internal temperature of 165°F (74°C). Visually, they should be golden brown on the outside, and when cut, the meat should be white throughout with no pink. Cooking time is typically 20-25 minutes at 400°F (200°C).
- → What sides go well with these chicken tenders?
These chicken tenders pair wonderfully with classic sides like french fries, sweet potato fries, or tater tots. For healthier options, try a fresh green salad, roasted vegetables, steamed broccoli, or coleslaw. They also work well with mac and cheese, corn on the cob, or a simple rice pilaf.
- → Can I make these chicken tenders gluten-free?
Absolutely! Simply substitute the regular panko breadcrumbs with gluten-free breadcrumbs or crushed gluten-free cornflakes. Make sure your other seasonings are certified gluten-free as well. The cooking method and temperature remain the same, yielding equally delicious and crispy gluten-free chicken tenders.