
 Bookmark
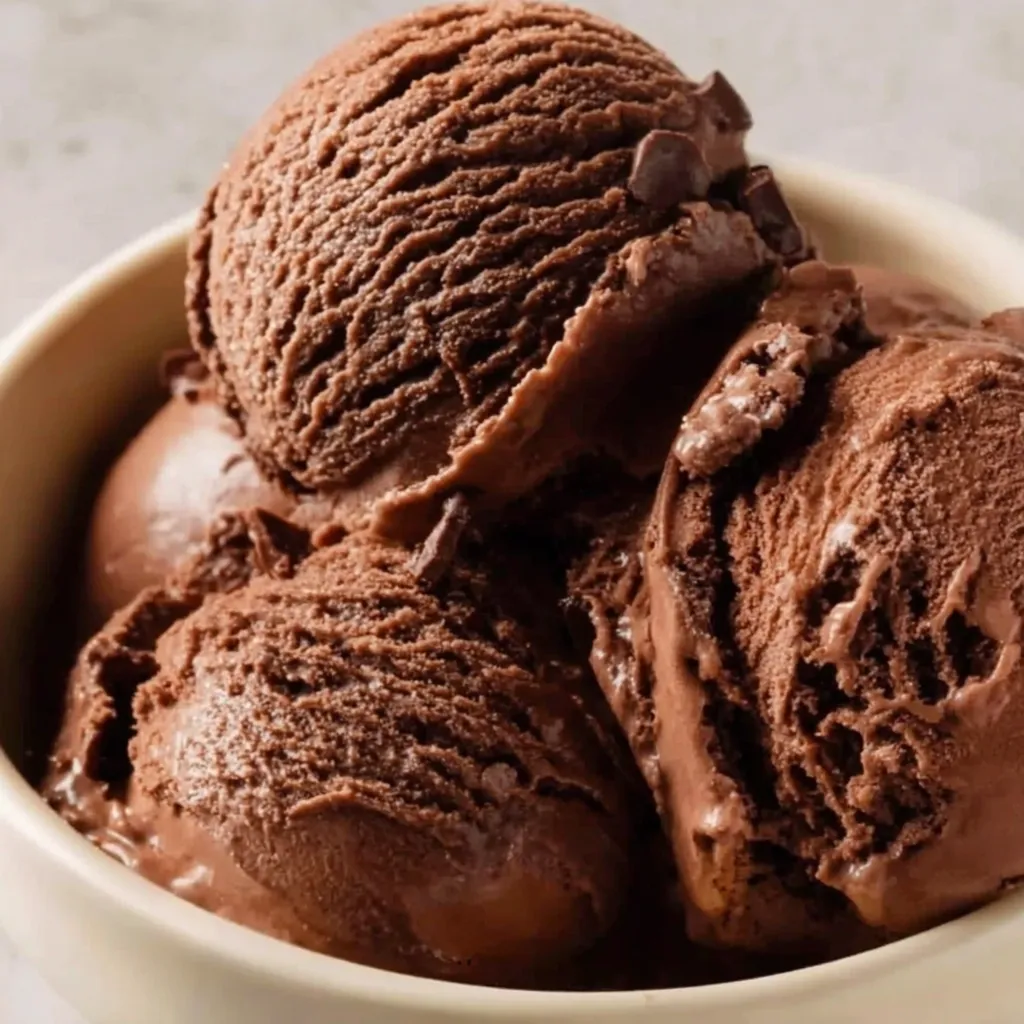
This luxuriously creamy chocolate dessert is made without eggs so the deep cocoa flavor can shine through. It is my go-to summer treat when I want something rich but simple. After several rounds of tweaking I found the perfect balance between smooth texture and bold chocolate taste.
The first time I made this I ended up eating it straight from the machine. It has been on rotation ever since.
Ingredients
- Heavy cream: provides rich smoothness and helps prevent iciness
- Whole milk: balances richness with scoopable texture avoid low-fat options
- Unsweetened cocoa powder: adds depth use Dutch-process for stronger flavor
- Chopped dark chocolate: enhances texture and chocolate intensity look for 70 to 85 percent cacao
- Cane sugar: sweetens and balances the bitter cocoa
- Vanilla extract: gives warmth and complexity always use pure vanilla
- Sea salt: sharpens and rounds out the chocolate flavor
Step-by-Step Instructions
- Freeze the Bowl:
- Place your ice cream maker bowl in the freezer for at least 12 hours ahead of time. This ensures proper churning and texture.
- Make the Chocolate Base:
- In a medium saucepan whisk together the cream cocoa sugar and salt. Bring to a gentle boil over medium heat then reduce heat and simmer for about 30 seconds while continuing to whisk. This step dissolves everything fully and starts the flavor blend.
- Melt in the Chocolate:
- Remove the pan from heat and add chopped chocolate. Whisk until smooth and melted completely. Stir in the milk and vanilla to finish the base.
- Chill Thoroughly:
- Pour mixture into a heatproof bowl. Let it cool at room temperature uncovered for a few minutes then cover and chill for at least 2 hours or overnight. The colder it is the better the churn.
- Churn the Mixture:
- Whisk the chilled base to reincorporate any skin that may have formed. Churn according to your machine’s instructions typically 20 to 30 minutes until it reaches a soft-serve consistency.
- Freeze for Scoopability:
- Transfer the churned ice cream into an airtight container. Freeze for 2 hours or longer to achieve firm scoopable texture. Use a warm scoop for best results.
 Bookmark
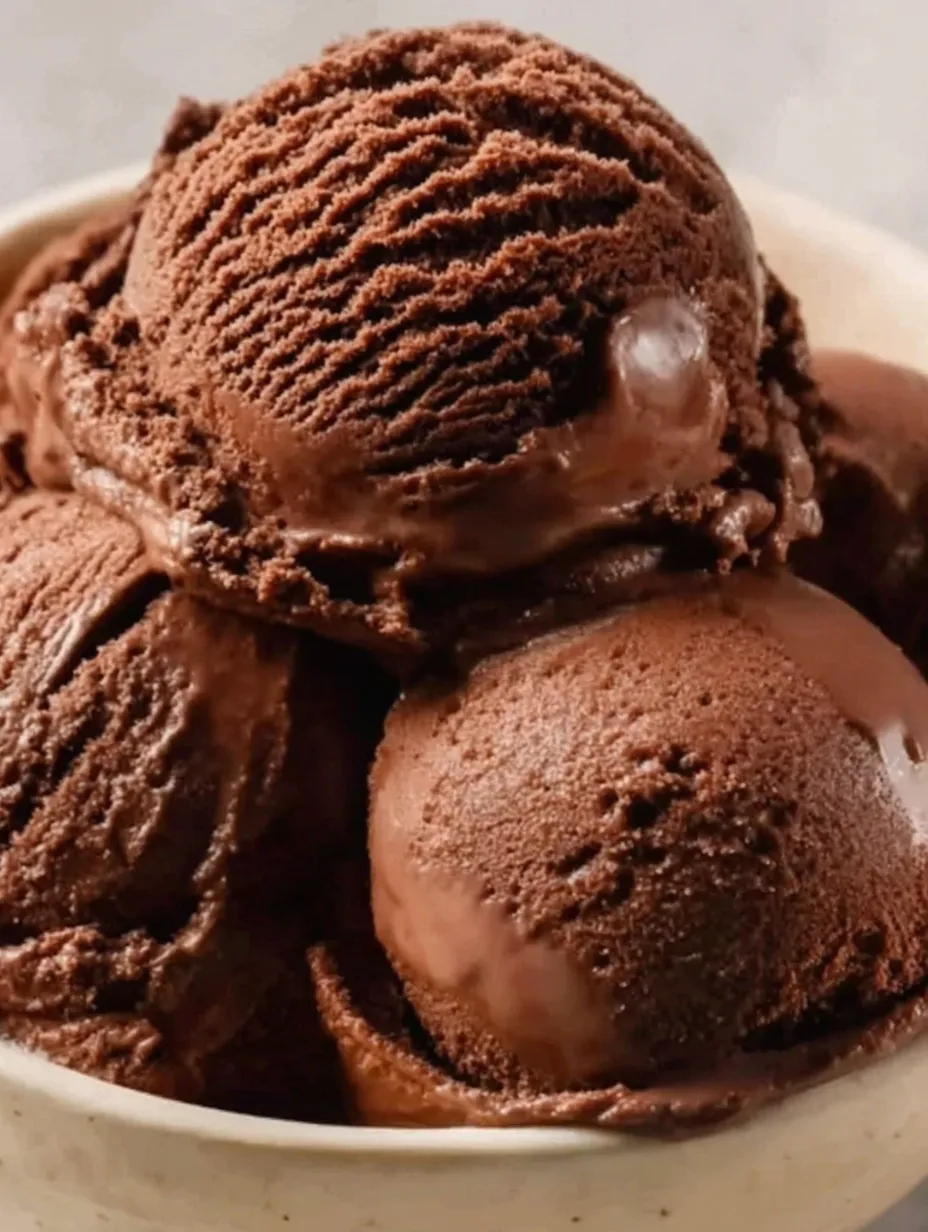
I always keep a batch of this in my freezer especially when friends visit. My niece says it is better than the store stuff and insists on a double scoop.
Storage Tips
Store in an airtight container in the back of the freezer to maintain texture and flavor. Let sit at room temp for 5 minutes before serving or refrigerate briefly to soften gradually.
Ingredient Substitutions
Avoid low-fat milk as it creates an icy texture. You can experiment with different dark chocolate percentages but anything above 60 percent works well.
Serving Suggestions
 Bookmark
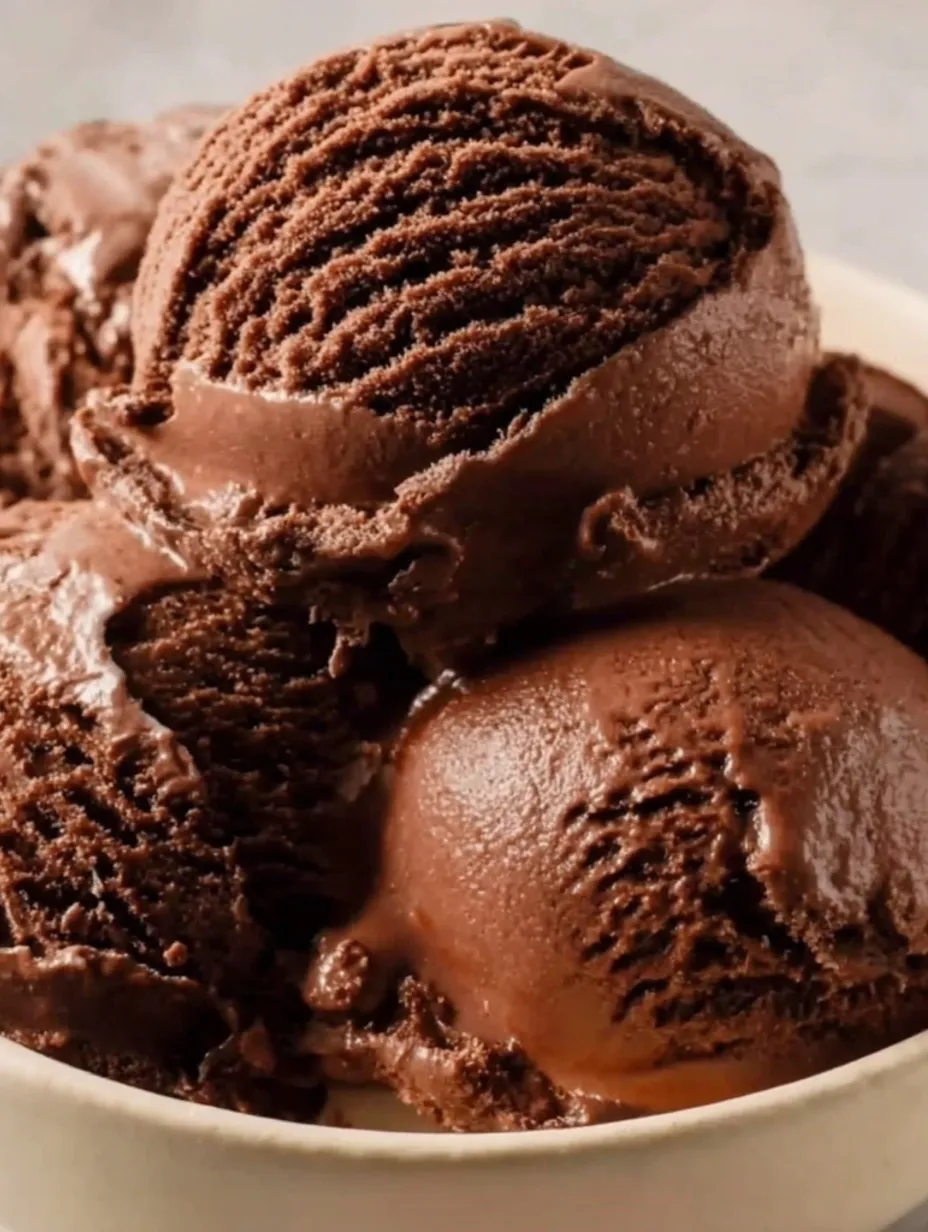
Top with whipped cream shaved chocolate berries or crushed cookies. Use it as a base for ice cream sandwiches or a milkshake.
Cultural Context
Philadelphia-style ice cream originated in the US as an easier alternative to custard-based versions. It relies solely on cream and milk for body and taste.
Frequently Asked Questions About Recipes
- → What type of cocoa powder is best for this dessert?
Unsweetened cocoa powder works well, but Dutch-process cocoa gives a deeper chocolate flavor.
- → Can I use milk alternatives instead of whole milk?
Whole milk is recommended for the creamiest texture, but full-fat alternatives may work with varying results.
- → Why does the bowl need to be frozen for 12 hours?
Freezing the bowl ensures the mixture churns and freezes properly for a smooth texture.
- → How long should I chill the base before churning?
Chill the mixture in the refrigerator for at least 2 hours or overnight for best results.
- → How do I store the finished dessert?
Store it in an airtight container in the freezer for up to one month. Let it soften before scooping.
- → Is this made with eggs?
No, this is a Philadelphia-style version that skips eggs for a cleaner chocolate flavor and easier process.