
 Bookmark
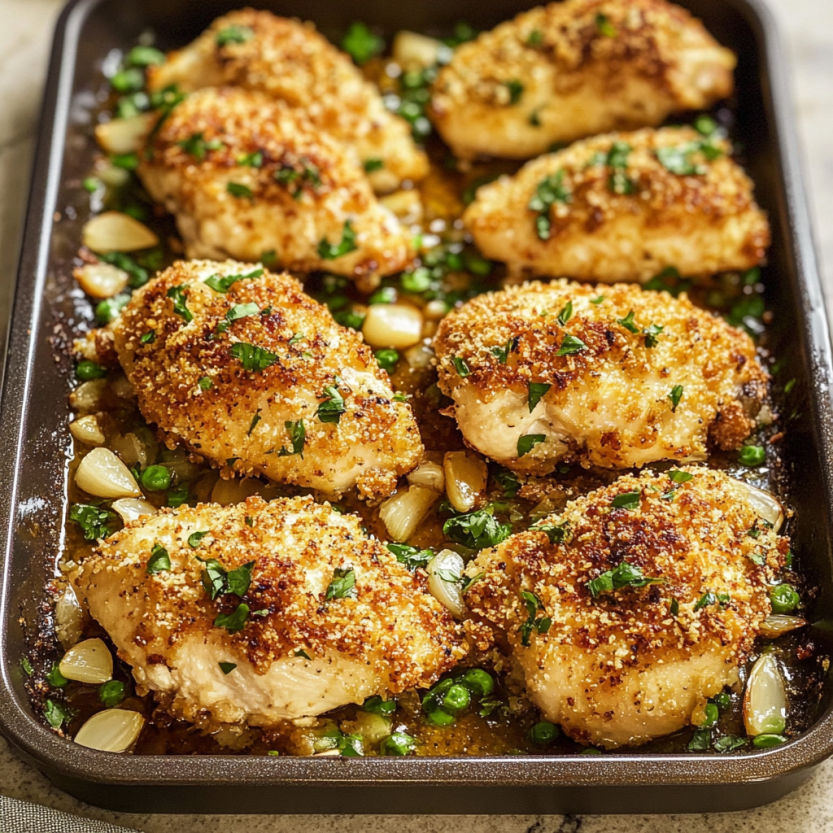
This sheet pan crispy parmesan garlic chicken has revolutionized my weeknight dinner routine by transforming ordinary chicken breasts into a restaurant-worthy meal on a single pan. The magic happens when the parmesan and panko create that golden, crunchy coating while the seasonal vegetables roast to perfection alongside.
I first made this recipe during a particularly chaotic week when I needed something impressive yet simple. My family was so captivated by the crispy exterior and juicy interior that it's now our go-to solution whenever we want comfort food without the fuss.
Ingredients
- 4 chicken breasts: approximately 2 pounds; fresh chicken produces the juiciest results
- Salt and pepper: essential for layering flavor throughout every component
- 2 eggs: creates the binding base that helps the coating stick perfectly
- ¼ cup milk: adds richness to the egg wash for better coating adhesion
- 1 cup panko breadcrumbs: Japanese style breadcrumbs provide superior crunch compared to regular breadcrumbs
- 1 cup parmesan cheese (grated): use freshly grated for the best flavor and melting properties
- 1 tablespoon Italian seasoning: a time saving blend that adds herbaceous notes
- 1 teaspoon garlic powder: provides consistent garlic flavor throughout the coating
- 1 pound baby potatoes (halved): their creamy interior contrasts beautifully with the crispy chicken
- 1 bunch asparagus: adds color, vibrant flavor, and nutritional balance
- 2 tablespoons olive oil: helps vegetables roast evenly and develop caramelization
Step-by-Step Instructions
- Preheat the Oven and Prepare the Pan:
- Crank your oven to 425 degrees Fahrenheit which provides the perfect high heat environment for developing crispy exteriors. While waiting for the oven to reach temperature, prepare your sheet pan with either cooking spray or parchment paper. This crucial step prevents sticking and makes cleanup virtually effortless later on. The high sides of a sheet pan also help contain any splatter as the chicken and vegetables roast.
- Set Up the Dipping Stations:
- Create your breading assembly line by whisking eggs and milk together in one shallow dish until completely smooth and uniform in color. The milk adds richness and helps create a more substantial base for the breading to adhere to. In a separate shallow dish combine panko breadcrumbs, parmesan cheese, Italian seasoning, and garlic powder, mixing thoroughly to distribute the seasonings evenly. This fragrant mixture will become the crispy golden exterior that makes this dish irresistible.
- Coat the Chicken:
- Season chicken breasts generously with salt and pepper on both sides to ensure the meat itself is flavorful, not just the coating. Working with one piece at a time, dip chicken into the egg mixture, allowing excess to drip off before pressing firmly into the panko mixture. Cover completely, flipping and pressing to ensure maximum coating adhesion. Place the breaded chicken on your prepared sheet pan, making sure to leave space between each piece for proper heat circulation and even crisping.
- Prepare the Vegetables:
- Divide your vegetables between two mixing bowls, halved potatoes in one and trimmed asparagus in the other. Drizzle each with olive oil and season with salt and pepper, tossing until every piece is evenly coated. The oil helps the vegetables caramelize while the seasoning ensures they complement rather than compete with the chicken. Arrange potatoes cut side down on the sheet pan alongside the chicken, leaving space for the asparagus to be added later.
- Bake to Perfection:
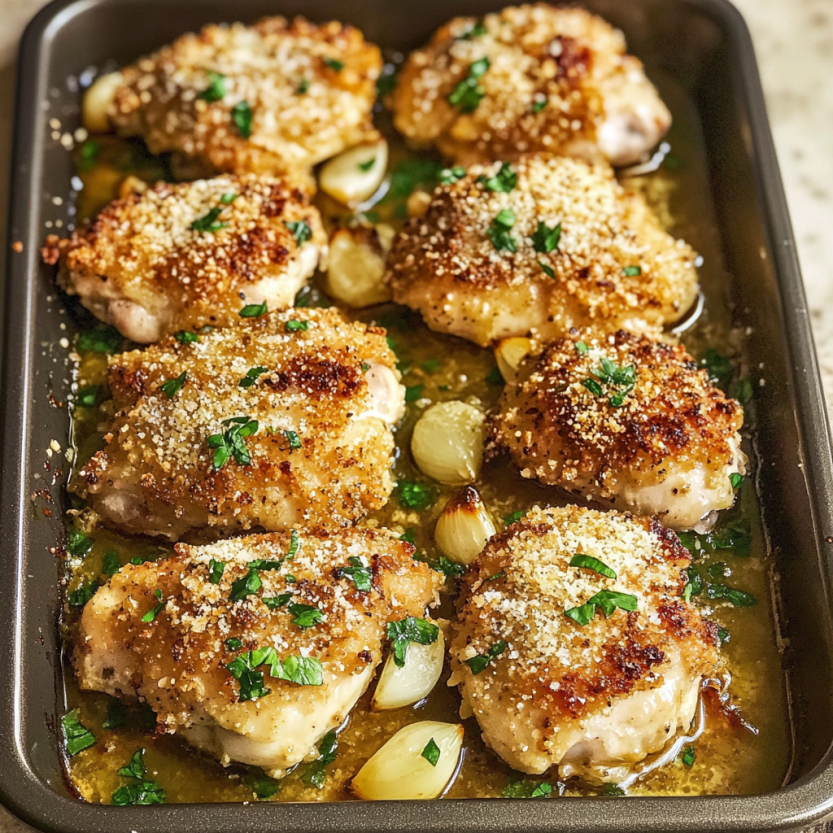
- Place your sheet pan in the preheated oven and bake for 15 minutes, which gives the chicken a head start on cooking and allows the potatoes to begin softening. After this initial cooking period, carefully flip each chicken breast to ensure even browning and add the prepared asparagus to the pan. Continue baking for 12 to 15 more minutes, watching carefully until the chicken reaches 165 degrees Fahrenheit internally and the coating achieves a beautiful golden brown color. The staggered addition of vegetables ensures nothing overcooks.
 Bookmark
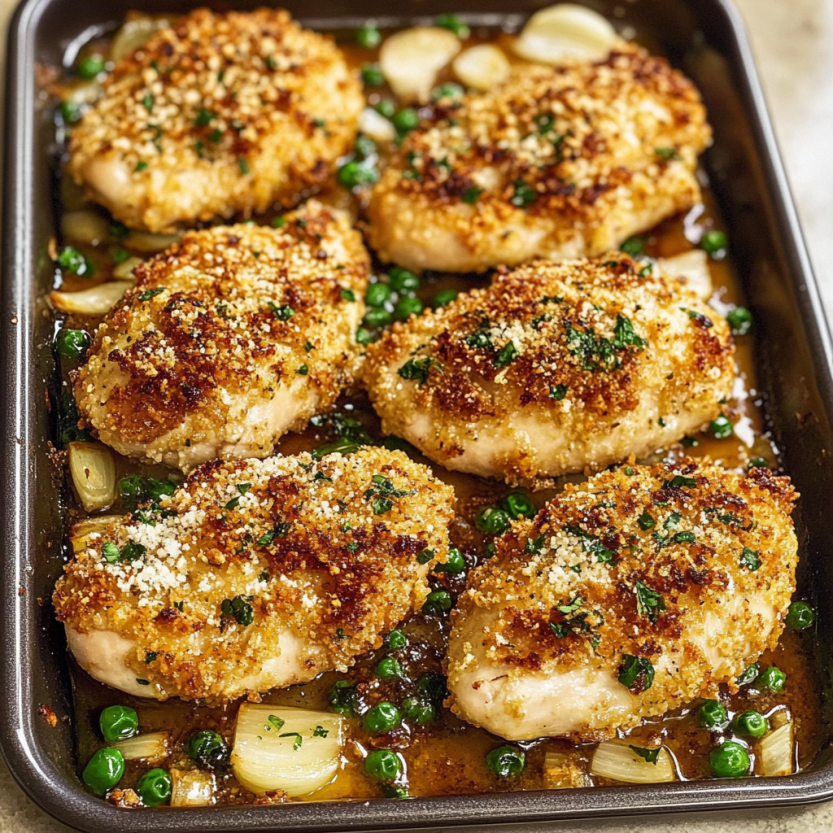
My absolute favorite part of this recipe is the moment when the parmesan begins to golden and release its nutty aroma throughout the kitchen. It reminds me of Sunday dinners at my grandmother's house where the simplest ingredients always became something special.
Perfect Pairings
This crispy parmesan garlic chicken works beautifully with a light side salad dressed simply with lemon juice and olive oil. The brightness cuts through the richness of the chicken and complements the roasted vegetables. For special occasions, consider serving with a chilled glass of Pinot Grigio or Sauvignon Blanc whose acidity balances the savory parmesan crust.
Make-Ahead Options
You can prepare the chicken up through the breading step up to 8 hours before cooking. Simply place the breaded chicken on a wire rack in the refrigerator uncovered. This allows the coating to set and actually improves the crispiness of the final product. The vegetables can be prepped and stored separately, then tossed with oil and seasonings just before cooking. This approach makes this dish perfect for entertaining or particularly busy weeknights.
Customizing Your Sheet Pan Meal
While asparagus and potatoes work wonderfully in this recipe, feel free to substitute vegetables based on what's in season. During summer months, try cherry tomatoes and zucchini. In autumn, butternut squash and Brussels sprouts make excellent alternatives. Just remember to adjust cooking times for denser vegetables by cutting them smaller or adding them earlier in the cooking process. The versatility of this approach means you can enjoy this family favorite year round without repetition.
Troubleshooting Tips
If your chicken coating isn't as crispy as expected, try patting the chicken completely dry before beginning the breading process. Excess moisture is the enemy of crispiness. For particularly thick chicken breasts, consider butterflying them to ensure even cooking without overbrowning the coating. If your vegetables are cooking too quickly or too slowly, simply adjust their position on the pan, moving them to a cooler corner or closer to the center as needed.
 Bookmark
Frequently Asked Questions About Recipes
- → Can I use chicken thighs instead of breasts?
Absolutely! Boneless, skinless chicken thighs work beautifully in this dish. They tend to be more forgiving and stay juicier than breasts, though you may need to adjust the cooking time slightly. Aim for an internal temperature of 165°F regardless of which cut you choose.
- → What vegetables can I substitute for asparagus?
This versatile dish works with many vegetables! Consider green beans, broccoli florets, bell peppers, zucchini, or cherry tomatoes. Just remember that different vegetables have different cooking times—add quick-cooking veggies later in the process, similar to the asparagus.
- → Can I prepare the breaded chicken ahead of time?
Yes, you can bread the chicken up to 24 hours in advance. Store the breaded chicken covered in the refrigerator on a plate or tray lined with parchment paper. This makes dinner assembly even quicker when you're ready to bake.
- → How do I ensure my chicken coating turns out crispy?
For maximum crispiness, make sure your oven is fully preheated to 425°F, don't overcrowd the pan, and consider lightly spraying the breaded chicken with cooking oil before baking. The panko breadcrumbs are key to the crunch, so don't substitute regular breadcrumbs if possible.
- → Is there a dairy-free alternative for this dish?
For a dairy-free version, replace the parmesan cheese with nutritional yeast for a similar umami flavor, and use a plant-based milk in the egg wash. You may want to add a touch more seasoning since parmesan adds significant flavor to the original recipe.
- → How do I store and reheat leftovers?
Store leftovers in an airtight container in the refrigerator for up to 3 days. For best results when reheating, use an oven or toaster oven at 350°F for 10-15 minutes to help restore some crispiness. Microwaving works in a pinch but will result in a softer coating.