
 Bookmark
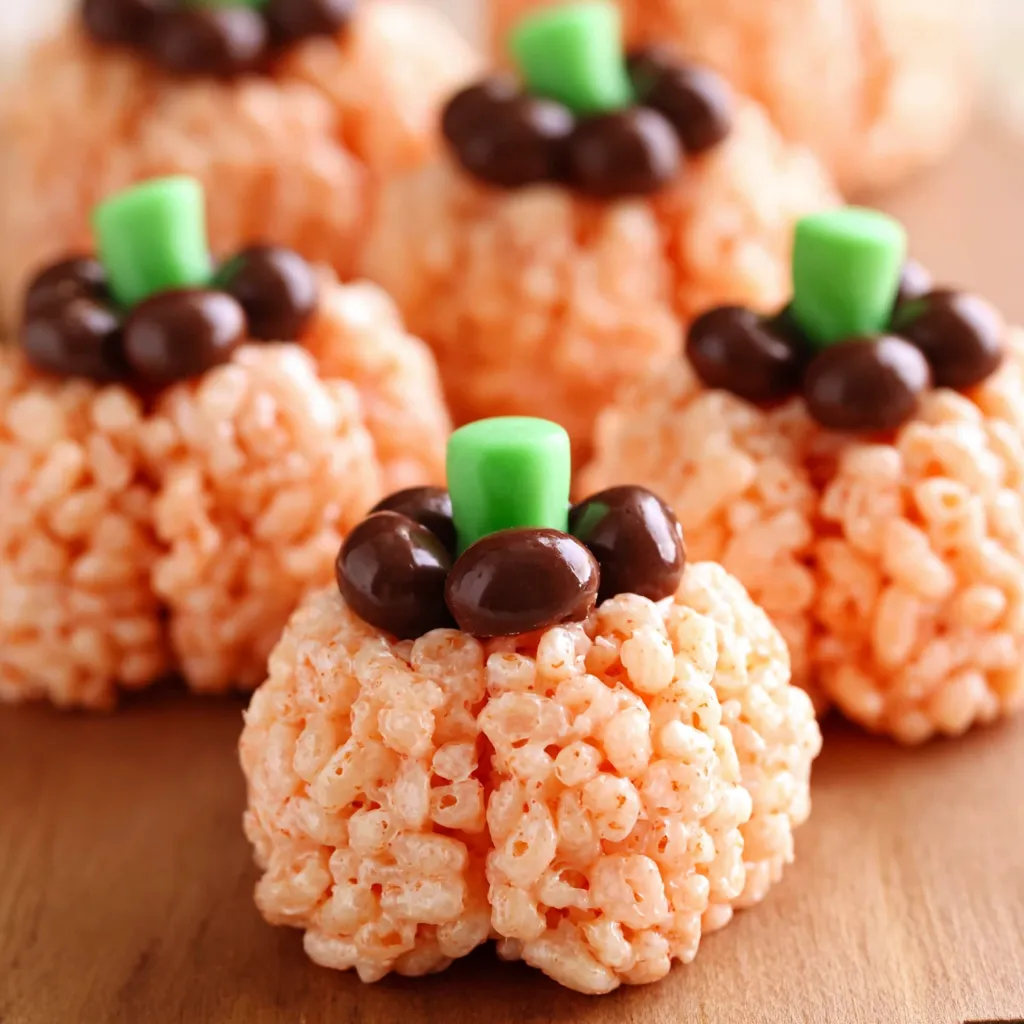
These adorable Rice Krispie treat pumpkins have become my go to Halloween party snack, and I'll be honest, they're messier to make than regular treats but absolutely worth the extra effort. The first time I attempted these, I ended up with sticky mixture coating every finger and palm, but once I discovered the oil coating trick, everything changed. Now my kids request these every October, and I've even started making them for Thanksgiving gatherings because they're just so festive and fun.
I first discovered the concept of rolling Rice Krispie treats into shapes when I was desperately searching for last minute Halloween party treats. The moment I saw these little pumpkins, I knew they'd be a hit with my family, and I was right. They've become such a tradition that my youngest daughter now helps me make them every year.
Ingredients
- 6 cups Rice Krispies cereal: provides the perfect texture and crunch for shaping
- 3 tablespoons butter: creates the binding base when melted with marshmallows
- 4 cups mini marshmallows: work better than large ones for smoother melting
- 4 to 6 drops red food coloring: essential for achieving that perfect pumpkin orange
- 12 drops yellow food coloring: start with this color first for better color control
- 12 mini Rolo candies: create realistic looking pumpkin stems
- 12 green M&M candies: serve as the perfect little pumpkin leaves
- 1/4 cup vegetable oil: absolutely crucial for hand coating to prevent sticking
When selecting your Rice Krispies, make sure they're fresh and crispy. Stale cereal will make your pumpkins less appealing. For the food coloring, liquid works best, and I've found that gel coloring can be too concentrated and harder to blend evenly.
Step-by-Step Instructions
- Prepare Your Workspace:
- Set out parchment paper on your counter and pour about 1/4 cup of vegetable oil into a small bowl. Trust me on this, you'll be dipping your hands into this oil repeatedly, so have it ready and accessible. The oil needs to be at room temperature for easy application.
- Melt the Base Mixture:
- In a large microwave safe bowl, combine butter and marshmallows. Microwave in 30 second intervals, stirring between each interval until completely smooth. This usually takes about 1.5 to 2 minutes total. Don't rush this step by using longer intervals or you'll end up with burnt spots.
- Add Food Coloring:
- Start with the yellow food coloring first and stir thoroughly until evenly distributed. Then add red coloring drop by drop, mixing well after each addition until you achieve your desired orange shade. I learned this the hard way after adding red first and ending up with an odd pink tint that required way too much yellow to correct.
- Incorporate the Cereal:
- Pour the Rice Krispies into the colored marshmallow mixture and fold gently but thoroughly until every piece is evenly coated. Work quickly here because the mixture will start to firm up as it cools, making it harder to shape later.
- Shape the Pumpkins:
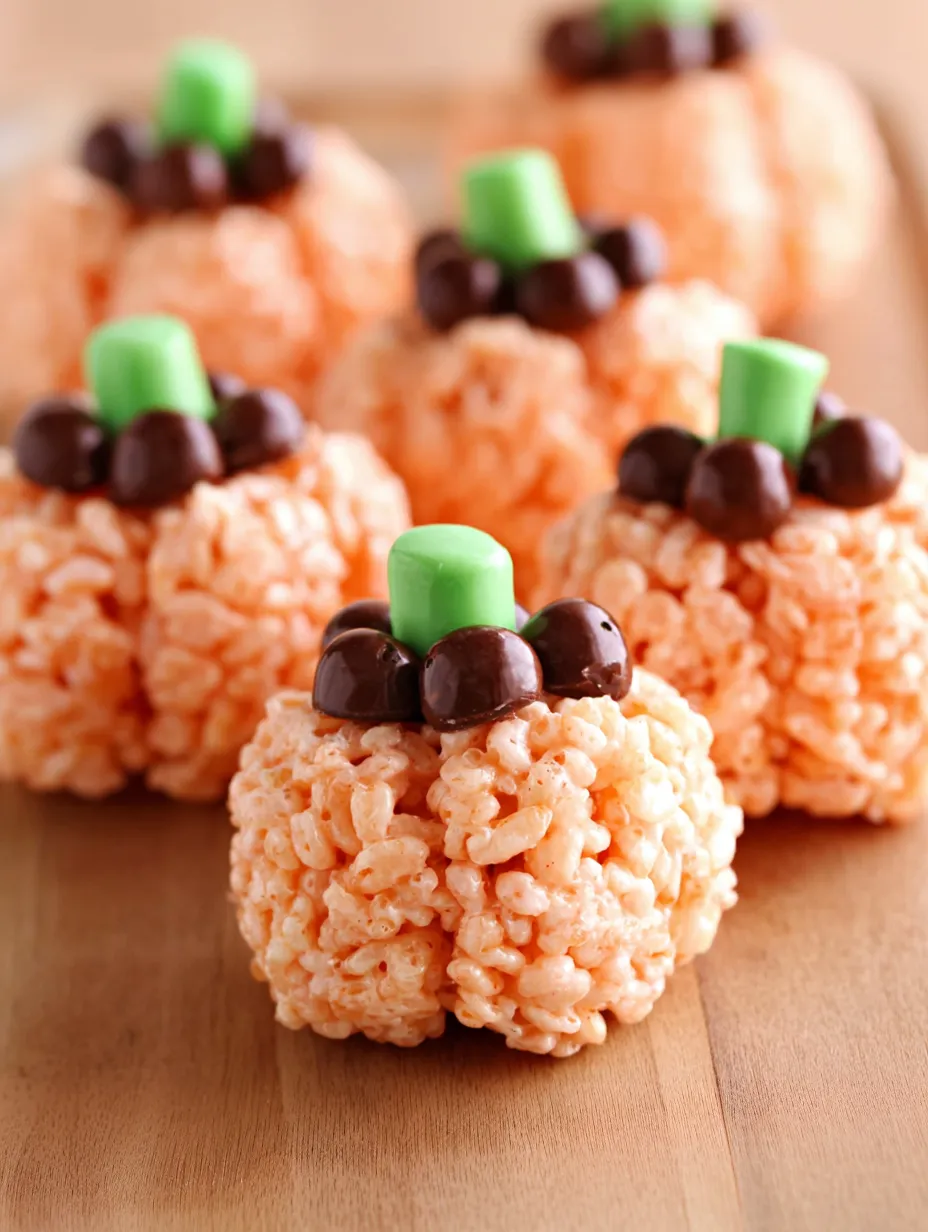
- This is where the oil becomes your best friend. Coat both hands generously with vegetable oil, front and back, like you're applying lotion. Scoop out about 1/3 cup of mixture and roll between your palms to form a ball about 2 inches in diameter. Place on parchment paper and immediately recoat your hands with oil before shaping the next one.
- Add the Decorative Elements:
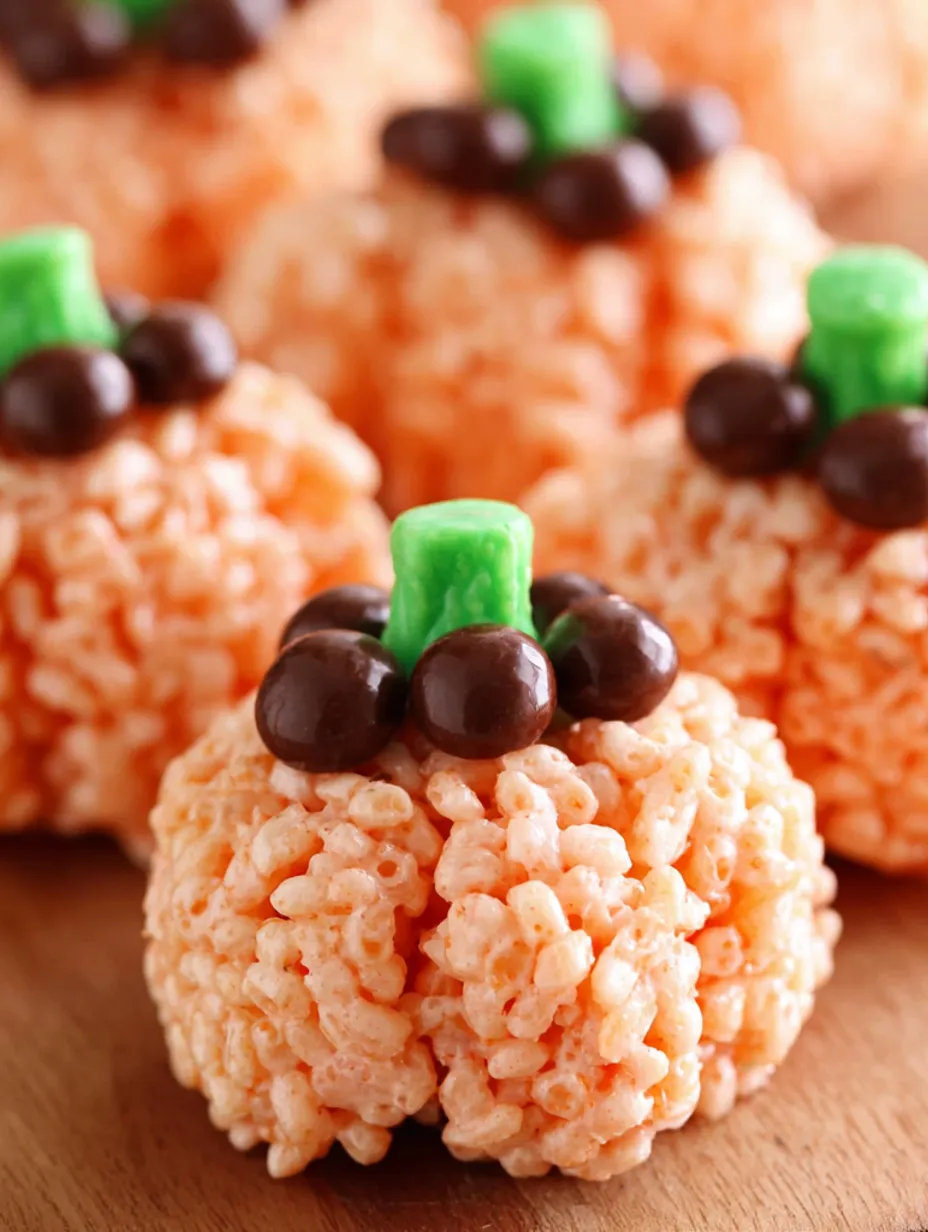
- While the treats are still warm and pliable, gently press one mini Rolo into the top center of each pumpkin for the stem. The warmth will help it stick naturally. Then place a green M&M about halfway into the treat right next to the Rolo to create the leaf. If your treats have cooled too much, use the back of a thick marker to create a small indent first.
- Final Setting:
- Allow the pumpkins to cool completely on the parchment paper for at least 15 minutes before moving or storing. They'll firm up nicely and hold their shape perfectly once cooled.
 Bookmark
The secret to getting that perfect pumpkin orange really lies in starting with yellow food coloring first. I made the mistake early on of adding red first, which created this strange peachy pink color that took forever to correct. Now I always tell people to be patient with the coloring process because getting it right makes all the difference in how authentic these little pumpkins look.
Storage and Freshness
Store your finished pumpkins in an airtight container at room temperature for up to one week. They actually taste best after sitting for a day because the flavors meld together beautifully. For longer storage, place them in freezer bags with parchment paper between layers and freeze for up to three months. They thaw perfectly at room temperature in about 30 minutes.
Ingredient Substitutions
If you can't find mini Rolos, small chocolate chips or even pretzel sticks work well as stems. For the leaves, any small green candy will do, though M&Ms have the perfect size and color. You can substitute coconut oil for vegetable oil when coating your hands, and it actually smells much better. For a dairy free version, use vegan butter and check that your marshmallows are gelatin free.
Serving Suggestions
These pumpkins are perfect for Halloween parties, school treats, or autumn gatherings. I like to arrange them on a wooden board with some scattered autumn leaves for a beautiful presentation. They pair wonderfully with hot apple cider or warm cocoa. For adult parties, I sometimes drizzle them lightly with caramel sauce just before serving.
The Story Behind the Treat
Rice Krispie treats have been an American favorite since the 1930s, but shaping them into seasonal forms is a more recent trend that really took off with social media. The beauty of these pumpkins lies in their simplicity. They prove that sometimes the most beloved treats aren't the most complicated ones, but rather the ones that bring families together in the kitchen and create lasting memories.
 Bookmark
Frequently Asked Questions About Recipes
- → How do I prevent the Rice Krispie mixture from sticking to my hands?
Coat your hands generously with vegetable oil before rolling each ball. Use about 1/4 cup of oil in a small bowl and dip your hands in it, rubbing it over both sides like lotion. You'll need to re-oil your hands after shaping each pumpkin.
- → What food coloring ratio creates the best orange color?
Start with yellow food coloring first, then add red drops one at a time until you achieve the desired orange shade. Approximately 12 drops of yellow and 4-6 drops of red work well, but this varies by food coloring brand.
- → How many pumpkins does one batch make?
One standard Rice Krispies treat batch makes exactly 12 pumpkins when rolled into fairly large balls. You can make more smaller pumpkins if you prefer bite-sized portions.
- → When should I add the Rolo and M&M decorations?
Press the mini Rolo stems and green M&M leaves into the warm Rice Krispie balls immediately after shaping. If the mixture cools and hardens, use a thick marker or apple corer to create small indents for the candy decorations.
- → Can I make these treats ahead of time?
Yes, these pumpkin treats store well at room temperature in an airtight container for several days. The candy decorations will stay secure once the Rice Krispie mixture has cooled and set completely.
- → What other candies can I use for decoration?
While mini Rolos and green M&Ms work perfectly, you could substitute with chocolate chips for stems or green candy-coated chocolates for leaves. Choose candies that will press easily into the warm mixture and hold their shape.